After the successor of Lenovo a6000 and a6000 Plus, Lenovo has launched a high end low budget phone Lenovo A7000. Lenovo A7000 comes with 5.5 inch 720p IPS display having MediaTek MT6752m 1.5 GHz true Octa Core processor with 2GB RAM. So if you have the Lenovo A7000 and you want to explore more by rooting then you have come right place to root Lenovo A7000. Before you are going to root your Lenovo A7000 make sure you know all the pros and cons of rooting like it violates warranty, not only your device may soft brick. You should also make a proper backup your date before rooting Lenovo A7000.
So if you want to root your Lenovo A700 then follow the every step carefully.
Backup
Make a backup of every bit of data and apps, contacts of your Phone. You can use many third party software SyncDroid to make a backup just by connecting your Lenovo A7000 to PC
Method 1:Install TWRP Recovery and Root Lenovo A7000 ROW Version
Note: This method is strictly for ROW devices, don’t try on Chinese devices.
A. Download Tools:
Download Driver for Lenovo A7000
Download flash_tool_v5.1436.00.000.rar
Download TWRP_2.8.6.0_A7000_ROW.7z
Download SuperSU-v2. 49. Sep
B. File Preparation
1. Now send the SuperSU-v2.49.zip file from your PC to the internal memory of your Lenovo A7000
2. Now right click on TWRP_2.8.6.0_A7000_ROW.7z file and select Extract to TWRP_2.8.6.0_A7000_ROW\, you will find TWRP_2.8.6.0_A7000_ROW.img inside the folder. Just rename it to recovery.img
3. Unrar the SP flash tool.
C. Enable USB Debugging
Go to Settings>> About>> Build number and tap it 7 times to unlock Developer options. Then return to Settings>> Developer options and tick the USB Debugging option.
D. Install Driver
Install the driver then restart your PC, then connect your phone to PC via USB cable and wait till Windows configures it. Make sure the USB Debugging is enabled in this process. Once the configuration has completed, again restart your PC.
E. Install TWRP Recovery and Root Lenovo A7000 ROW Devices
1. Run as Administrator the flash_tool.exe, that you will find by extracting flash_tool_v5.1436.00.000.rar
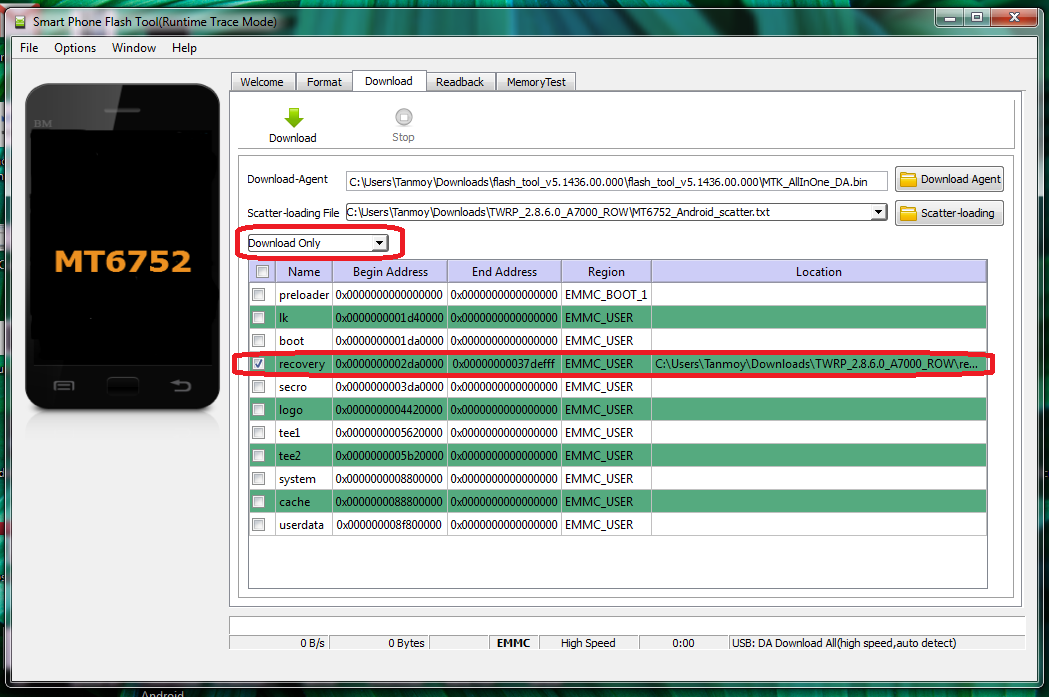
2. Click on “Scatter-loading” and browse the scatter file MT6752_Android_scatter.txt that comes in the TWRP_2.8.6.0_A7000_ROW folder.
3. Now it will show like this, make sure only recovery selected and selected the Download only option
4 .In the menu “Option” tab, go to “Download”, and put a “tick” in the “DA DL All with Checksum”;

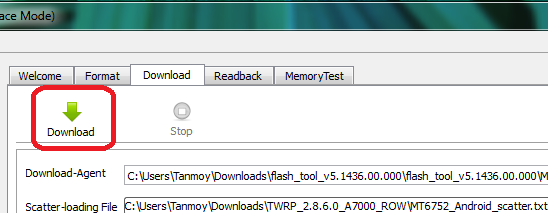
5. Now hit on the Download button
6. Now turn off the phone and be sure to remove the battery for at least 5 seconds
7. Put the battery and connect your Phone to PC via USB, this will start the flashing process.
8. Once the process has completed, we will see a huge green check box. Now we can disconnect the phone from the cable. You have successfully installed TWRP recovery
9. Now don’t switch on your phone. If you switch on then twrp recovery will be replaced by default recovery.
10. So press and hold volume up + down buttons, then power button. In other words, hold three buttons simultaneously. When the Lenovo logo appears, release the power button, the volume of both to continue to hold. ASAP phone enters the TWRP release all the buttons.
11. Now select Install Zip then Select Install Zip from /sdcard and browse the SuperSU-v2.49.zip file that you copy pasted earlier to flash SuperSU-v2.49.zip
12. Reboot your Phone
Now you have root access on your Lenovo A7000 ROW version, To whether you Lenovo A7000 has root access or not, just go to Google play store and install Root Checker and run it.
Last but not the least, if your device is in warranty period and you have rooted your device, then the best way to claim warranty is install the stock ROM on your Lenovo A7000 ROW.
Also Read How To Root Lenovo K3 Note and Install CWM Recovery
METHOD 2: (Not working, try at your own risk)
1 Driver of Lenovo A7000
2 iRoot or ROOT master
Root Lenovo A7000
NOTE: This method is not working now as per users’ comments! So try other method or stay tuned so that I can post new method.
1. Enable Developer mode by tapping the build version 7 times from setting, then go to developer mode and enable USB Debugging.
2. Now install the driver or Lenovo A7000 on your PC. (You can go device manager on your PC to check whether its properly installed or not)
3. Now install vRoot or iRoot on Your PC
4. Run iRoot, it will ask to connect your Phone to PC via USB cable
5. After successful connection, it will show like this
.png)

6. Now click on Root to root your Lenovo A700

7. It will take some time to root your Lenovo A700, till then do not touch the phone or the USB cable. After successful root it will show like this

Now your Lenovo A700 have rooted and it has the root privilege. After successful root you will see two new Apps, you can uninstall it using App remover. Then you can install Super Su from Play store.
Download SuperSu from Google Play Store here
Incoming Search:
How to root Lenovo A7000 by using iRoot
Working method to Root Lenovo A7000 ROW version